Mar 26-2026
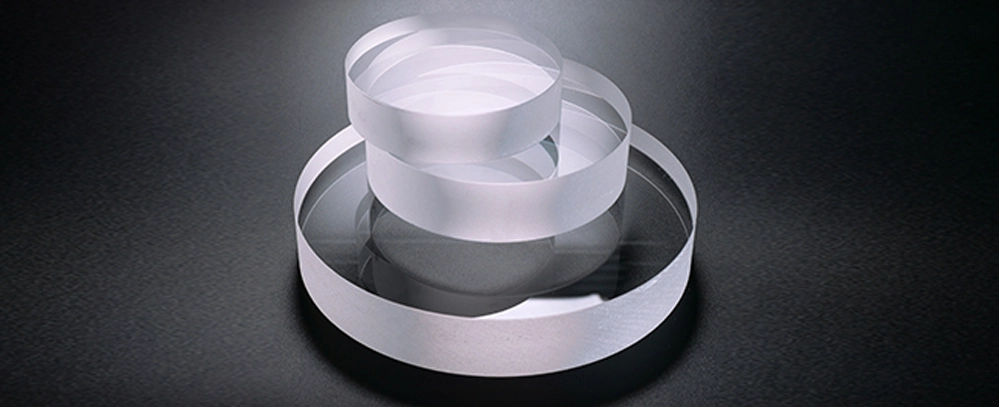
Single-sided optical flat mirror is used to check the flatness and suitability of quantitative blocks and the flatness of measuring planes and working plane of instruments and measuring tools. This type of optical flat can also be used to calibrate high precision plane optics, such as plane optical parts, advanced platforms, flat plates, guideways, seals, etc. It is especially suitable for measuring institute and laboratories as standard planes and templates.
Double-sided optical flat mirror as the important optical glass components may be used as a reference (test plate) against which the flatness of an unknown surface can be compared or as an optical window. Double-side optical flat glass has high accuracy in flatness and parallelism. Double-side optical flats is used for verifying the surface flatness and parallelism of micrometer, lever micrometer, lever-type snap gauge, Micrometer caliper, ect. The double-sided flat optics flats are divided into four series, each of which is divided into six groups, each with four pieces.
| Single side | ||||
| Diameter (mm) | Basic Parameter | |||
| Level 1 | Level 2 | |||
| Surface Flatness (Within One diameter) | Surface Flatness (Within 2/3 diameter) | SurfaceFlatness (Within one diameter) | Surface Flatness (Within 2/3 diameter) | |
| 30 45 60 | 0.03 | 0.1 | 0.05 | |
| 80 100 150 | 0.05 | 0.03 | ||
| 200 250 300 | 0.08 0.1 0.15 | 0.05 0.05 0.09 | 0.12 0.15 0.2 | 0.06 0.08 0.1 |
| Double side | ||||
| Group | 0-25 | 25-50 | 50-75 | 75-100 |
| 1 | 15.00,15.12 15.25,15.39 | 40.00,40.12 40.25,40.37 | 65.00,65.12 65.25,65.37 | 90.00,90.12 90.25,90.37 |
| 2 | 15.12,15.25 15.37,15.50 | 40.12,40.25 40.37,40.50 | 65.12,65.25 65.37,65.50 | 90.12,90.25 90.37,90.50 |
| 3 | 15.25,15.37 15.50,15.62 | 40.25,40.37 40.50,40.62 | 65.25,65.37 65.50,65.62 | 90.25,90.37 90.50,90.62 |
| 4 | 15.37,15.50 15.62,15.75 | 40.37,40.50 40.62,40.75 | 65.37,65.50 65.62,65.75 | 90.37,90.50 90.62,90.75 |
| 5 | 15.50,15.62 15.75,15.87 | 40.50,40.62 40.75,40.87 | 65.50,65.62 65.75,65.87 | 90.50,90.62 90.75,90.87 |
| 6 | 15.62,15.75 15.87,16.00 | 40.62,40.75 40.87,41.00 | 65.62,65.75 65.87,66.00 | 90.62,90.75 90.87,91.00 |

The advantages of the 2 optical flat types we offered include their high precision flatness, which enables accurate measurement and calibration in optical systems. Their transparent optical flat material allows for the passage of light, facilitating the examination of interference patterns and the assessment of surface quality. The parallel surfaces of custom optical flats ensure consistent performance in various applications, contributing to their reliability. Additionally, our optical flat mirrors offer versatility in optical testing and metrology, making them indispensable tools for evaluating the flatness of surfaces and the quality of optical components in industries such as manufacturing, astronomy, and research.
Through the following application scenarios, you will see the breadth of k9 single/double sided optical flat uses. It will help you better understand and utilize our products and open up a wider market.
High-precision measurement: K9 flat optics play an important role in high-precision measurement, especially in semiconductor manufacturing and precision machining. They can be used to detect and calibrate high-precision flatness.
Optical system calibration: In optical systems, K9 optical flat mirrors can be used to calibrate and align optical components to ensure the accuracy of the optical path and the overall performance of the system. This is particularly important in equipment such as lasers, microscopes and telescopes.
Interferometry: Using the optical flat working principle, high-precision surface topography measurements can be performed. This can provide key data support when researching and developing new materials and processes.
Laboratory research: In scientific research laboratories, K9 optical flat glass is often used in various optical experiments and tests, helping researchers obtain high-precision experimental data and promote the progress of scientific research.
Quality control: In the production process, using K9 optical flat material for quality control can effectively detect surface defects and unevenness of products, improve the product's pass rate and market competitiveness.
Optical flat mirrors are essential tools in metrology for ensuring the precision and accuracy of surface flatness measurements. They are used to calibrate and verify the flatness of various surfaces, providing a reliable standard for quality control. Made from high-quality materials like K9 glass, flat optics offer exceptional durability and minimal distortion. The optical flat application in interferometry allows for the detection of minute deviations in surface flatness, crucial for high-precision industries.